Point cloud inspection
Leading software for 3D point cloud inspection
Metrolog is the reference for 3D point cloud inspection. Not only does it speed up the inspection process and gain in throughput inspection time, but it also contributes to increased measurement precision and less scrap. Powerful and robust Metrolog algorithms for handling scanned point cloud data result in improved quality and productivity within your manufacturing process.
Although the quality of 3D scanners has improved greatly in recent years and they are employed at a growing scale for faster point acquisition for parts or applications where contact measurement systems cannot make it, inevitable measurement errors in point cloud still occur. Our goal is to respond to this critical challenge by bringing more precision to 3D scan systems and help you gain deeper insight into point cloud inspection.

Unlock the full potential of your Point Cloud inspection process with industry’s most robust and accurate 3D scan processing software.

Why choose Metrolog for your 3D point cloud inspection
- Unrivalled 3D point cloud acquisition, processing and analysis toolset allowing you to fix and prevent problems in the earlier stage of the manufacturing process.
- Fully embedded and seamlessly integrated scanning and quality control for all CMM/ robots and latest optical 3D measurement technology available on the market.
- Real-time display and computing of your ongoing measurement results to monitor your inspection: all the feature characteristics and results.
- Advanced capability to collect and perform full analysis of heaviest 3D point cloud data without decimation.
- True point cloud feature extraction based on Y14 & ISO 1101 GD&T compliance
Complete toolset
The most complete and easy to use toolset for comparing forms and profiles (part-to-part and part-to-CAD), highlighting areas that are out of tolerance. It also includes the most full-scale GD&T analysis capabilities on the market.
Direct projection
Rapid and accurate Point Cloud analysis using direct projection onto the part CAD file. The projection is based on the polynomial model and not the faceted and approximated one.
Feature inspection
Extensive surface and feature inspection set of functions for full control of your surface quality layout. Perform reliable feature extraction and fast colour mapping, directly from your scan data.
CAD cloud fitting
Accurate and easy-to-use alignment functions and best-fit. Multiple solutions available for cloud fitting to CAD: autofit, best-fit, manual fit, or cloud to cloud fitting.

Reporting tools
Manual or program-based dimensional analysis with generation of easy to interpret and interactive reporting enabling rapid decision-making.

Easy programming
No need to be an expert in programming. Quality compliance control of final manufactured and assembled products can be carried out through accessible automated techniques.
Multi-sensor ready
We offer an extensive retrofit kit adaptable to any 3D measuring machines and capable to integrate most of the existing optical sensors available on the market.
Free i-Viewer app
Collaborate and dynamically exchange your point cloud data with your engineering team by using i-Viewer app: easily share your inspection results with customers, partners or subcontractors.
See how our expertise can address your most critical 3D inspection challenges faster than ever.
Key features
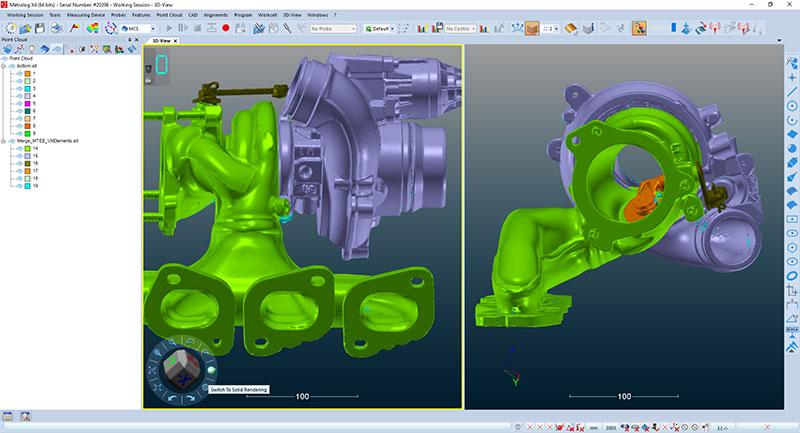
Smooth workflow and user-friendly interface
- Estimating part quality according to the mm² surface (area calculation)
- User interface that can be entirely customizable to adapt to the operator’s work habits, type of device used, and measurement type
- Automatic view orientation during data acquisition
- Multiple information windows (position and results)
- Simple, functional and powerful report editor.
- Available in 19 languages, which you can switch on the fly.
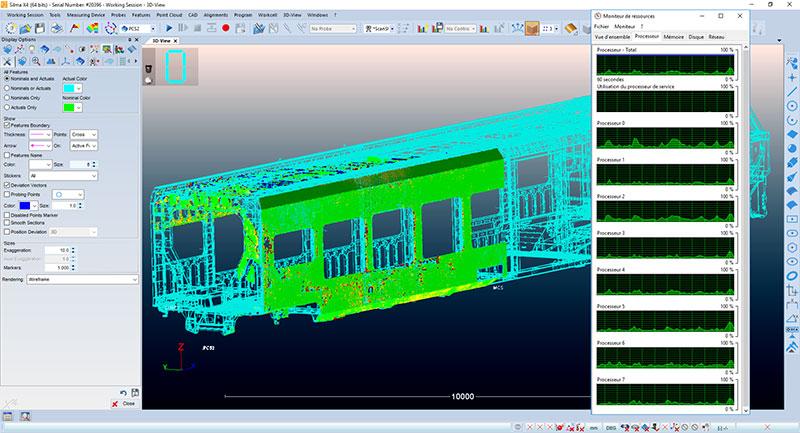
Point Cloud Processing
- No limit concerning point cloud import
- Fast acquisition, best fit, alignment
- Incoherent data points, noise and outlier’s elimination
- Point Cloud and multi-feature filtering
- Point Cloud fusion, smoothing
- Export of point cloud mesh
- Multi solutions for cloud fitting to CAD: Autofit, Best fit, Manual fit, or even cloud to cloud fitting
- Many powerful extraction features available, different strategies available depending on the part type.
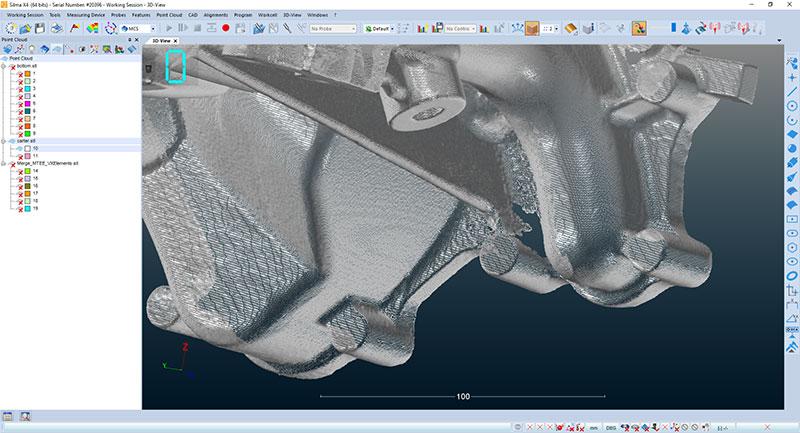
Mesh generation
- Several meshing functions (2D, 3D, deviation error)
- Hole filling along curvatures
- Mesh coloration
- Meshing along curvature
- Constraint meshing
- Noise measurement elimination
- Mesh decimation, polygon reduction
- Optimization for finite element analysis
- 3D global shape deformation.
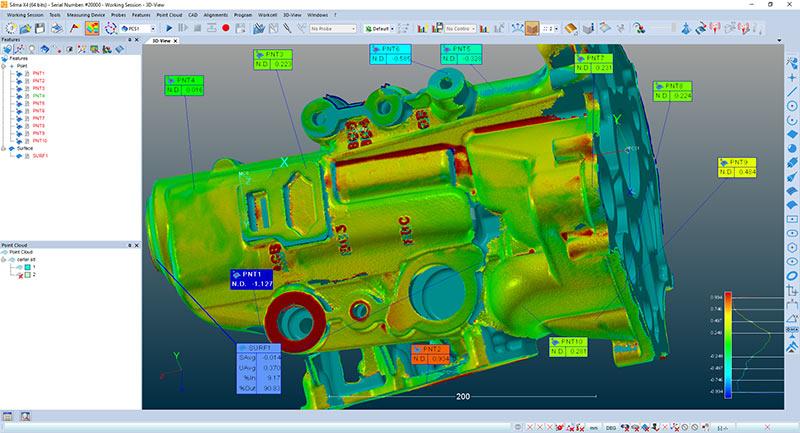
3D Inspection
- Surface or contour comparison
- Color mapping with variable scales
- Detailed label edition on particular points
- Manual acquisition assistant
- Single action windows for Measuring/Defining/Building
- Extracting elements and automatically applying geometrical tolerance
- Comparison system between cloud points and the CAD (color mapping)
- User-friendly treatment of flushes and gaps
- Measuring material thickness.
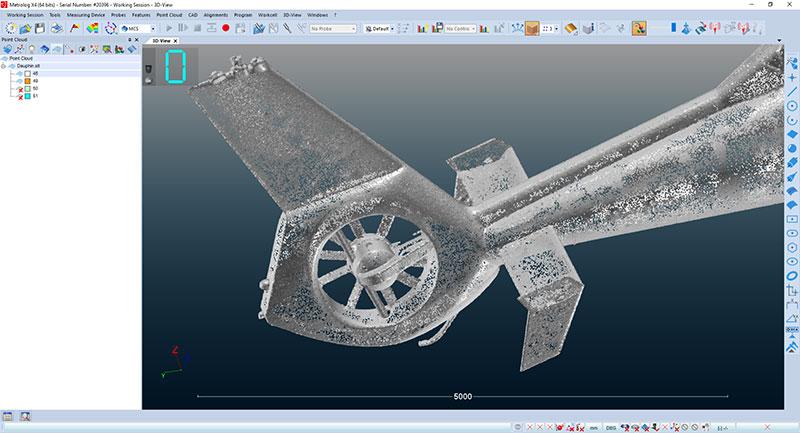
CAD preparation and rapid prototyping
- Best shape extraction for easiest surface reconstruction
- Section computation
-
Import formats: common nominal CAD files like CATIA V5, IGS, STEP, VDA, SET, Pro-E, Unigraphics, NX
Export: All possible formats on the market.
Reliable foundation
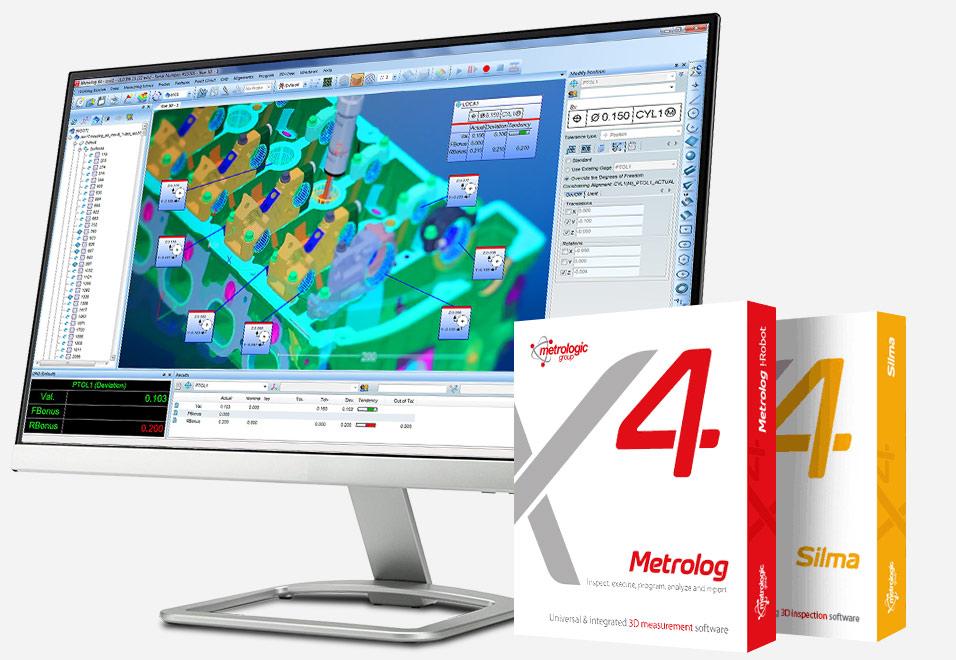
Metrolog 64-bit multi-core native development benefits from the superior performance of today’s computer systems. The software is optimized to easily handle dense, heavy volume data sets to facilitate not only point cloud acquisition but also fast processing.
The X4 software architecture provides the capacity to:
- Import and manipulate huge CAD files and assemblies
- Import or acquire large point clouds that can be easily displayed and manipulated
- Perform reliable feature extraction and fast color mapping, directly from your scan data
- The ability to considerably reduce conversion or projection time while using large sets of data (SDAC, point clouds…).
