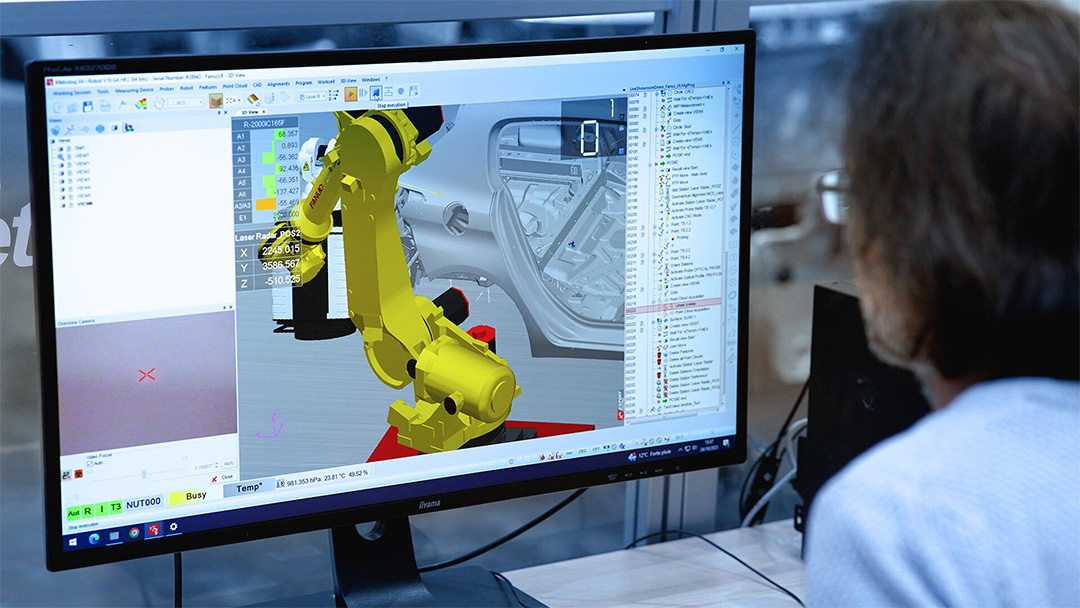
When it comes to improving inspection processes in manufacturing, deploying robots to help is becoming more and more of a reality today.
In the manufacturing industry, typical applications of industrial robots include product assembly, welding, painting, product inspection, testing, packaging and labelling, etc. According to recent industrial reports, the global robotic inspection sector alone is predicted to grow by $4.68 billion during 2023-2029.
Investing in the right robotic inspection solution with the right features is crucial for achieving manufacturing objectives and enhancing productivity, time efficiency, and cost-effectiveness.
Robot integrators are now more involved in guiding end-users on optimizing robots for addressing common 3D quality control challenges. These challenges include accurately identifying and inspecting parts, managing tighter tolerances, and detecting flaws while ensuring precise dimensions.
What are the main challenges in 3D quality control?
Let’s take a deeper look at what the main challenges are in 3D quality control and how robots are deployed to help address these.
1 – Identifying and inspecting parts accurately
When it comes to assessing and identifying parts that are present on a product assembly, such as a stamped part like a car door or detecting if a hole has been positioned properly, robotic inspection systems are deployed.
A sensor is usually mounted on to the robot’s arm, which is then moved around to check and identify the presence of different features on a part. The sensor provides the measurement, and the robotic arm provides the flexibility to move the sensor to where it needs to be to acquire the measurement data and the different parts that may need to be measured.
2 – Measuring components with tighter tolerances
Due to modernized product designs, complex features on parts are being developed with increasingly tighter tolerances. From ensuring whether nuts and bolts are positioned exactly where these should be, to measuring features with freeform design repeatedly but exactly the same on a massive production volume. Robotic inspection systems are being deployed to meet these challenging requirements successfully.
In these scenarios, robotic inspection systems function similarly to coordinate measuring machines (CMMs), providing accurate measurement results. This eliminates the need for production operators to spend valuable time sending parts to the laboratory for measurement.
3 – Detecting flaws and precise dimensions
This is not as easy as it sounds, because if production operators were to be asked what the precise measurement of a particular feature or part should be, then a different range of answers is likely to be presented. The definition of whether a part is good or not needs be determined before robotic inspection systems are deployed, otherwise even these will fail to be effective in executing their roles.
In the same vein, it is also important to know whether there are any issues relating to the details of a part and what the inspection criteria for such a part should be. This particularly applies to any defects and tolerance requirements, because selecting the right inspection tool would then need to be considered to ensure accurate and precise measurement data.
The benefits of deploying robotic inspection systems
There are some important benefits that come with investing and deploying the right robotic inspection systems, such as:
- Every part can be measured:while traditional quality inspection only allows 1-2% of the parts to be measured in a dedicated laboratory room, robotic inspection can be deployed to measure every single part of a product – and not just the samples.
- Performing in-line quality checks: robotic inspection systems can facilitate every part to be measured for quality checks in-line or by the production line; thereby boosting productivity and efficiency levels in huge ways, because operators can get a bad part off the assembly line sooner, more reliably, without affecting the overall production process.
- Cost savings are gained through increased quality:while investing in robotic inspection systems is a costly matter, the dividends yielded from the superior measurement quality levels justifies this expenditure.
The right robotic inspection solution
When it comes to deciding how to select the right robotic inspection solution, here are the key factors worth considering:
- Is it suitable for all robots? Can it work with any robot brand?
- Is it a production-ready solution that specifically meets purposes, such as metrological accuracy?
- Are the robot movements completely synchronised with measurements?
- Is the solution easy to attach to the robots in use?
- Can the solution help perform in-line, CMM-style inspections?
- Is the solution compatible with any measurement system?
- Does the solution run with one software application, or does it require multiple packages?
- Does it work with a touch-or-scan robot inspection cell?
- Can it use a laser tracker or a photogrammetric station to track part positioning?
- Does it work with CAD files to take quick control of all the geometric characteristics of a part?
- Can the solution synchronise multiple robots in the same coordinate system?
- Is the solution ergonomic: i.e., is it easy to program and handle?
Before considering the factors involved in choosing the right robotic inspection solution, it is important to determine what the specific application requirements are and work with the robot integrator to help them identify the most suitable system.
