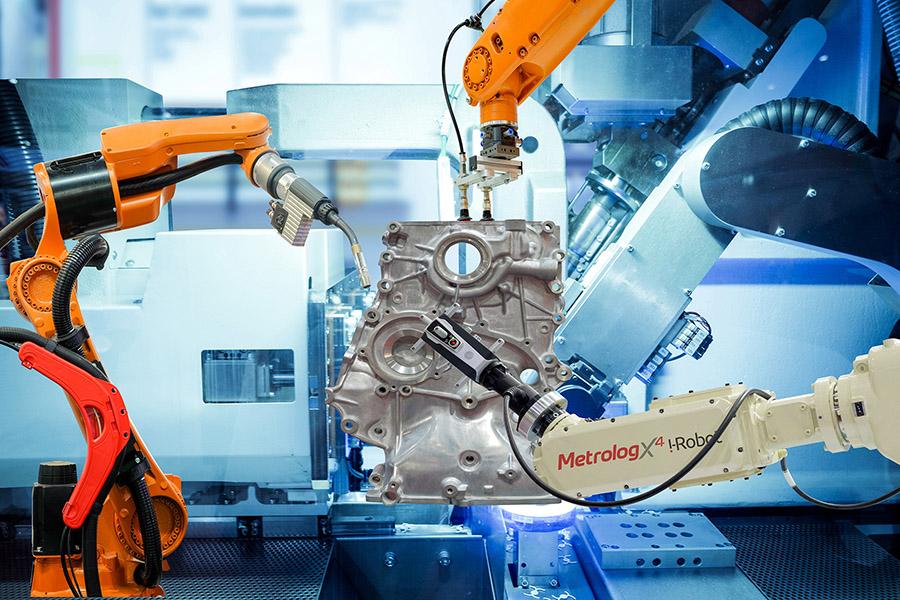
The metrology sector is now beginning to see that the existing set up of using measuring laboratories for conducting measurements on massive production scales is no longer sufficient.
If anything, metrology laboratories are becoming bottlenecks to the 3D inspection process. Metrologists are currently facing increasing demands in their 3D inspection roles, but the equipment setup in most existing laboratories is simply not suitable for high volume measurements. This is consequently affecting production rates.
Furthermore, production managers are battling with the challenge of reducing the volume of scrap parts that are caused by production errors.
The way forward is to bring inline 3D inspection to the shop floor and use laboratories for measuring isolated parts that require deeper investigation.
At A Glance: Reasons for bringing inline inspection to the shop floor
There are several good reasons for bringing inline inspection to the shop floor, which include:
- Taking measurements as fast as possible
- Detecting errors or problems at the earliest instance
- Minimising the need to move parts out of the production line, as this only needs to happen when additional expertise becomes necessary
- Avoiding the need to invest in new CMMs
Repurposing the measurement laboratories
It is important to note that metrology laboratories will still need to exist; it’s just that their purpose and roles are changing.
Laboratories will be required for conducting advanced measurements at critical phases of the production process, such as prototyping, advanced measuring expertise when investigating or analysing certain parts, or creating detailed reports required for external uses.
Aiming for Zero defaults
Introducing inline inspection processes on the manufacturing shop floor can pave the way to meet the cherished “zero default” target which metrology professionals aspire to achieve.
Thanks to automation and robotic inspection technologies, increased measurement productivity, better production monitoring and shorter inspection times can be realised.
In this age of modernisation, it is essential that good 3D quality control processes are robust because it enables the results provided by measuring devices to be reliable; and suitable corrective actions can be undertaken too.
By using the same 3D metrology software application in measurement labs as well as inline inspections, consistency in the analytical methodologies applied can be attained. This also helps when checking to see if individual instruments are working correctly.
Boosting repeatability
The repeatability factor in 3D inspection, i.e., when a measuring device provides the same results after measuring the same part several times, is so critical that many manufacturers have decided to automate the inspection process.
By replacing manual measurement processes, which are operated by humans, with robotised equipment, the risk of human error is removed and no longer a problem.
Benefits of transforming the 3D quality control processes
By transforming the 3D quality control processes, manufacturers can gain several benefits, which include:
- Boosting productivity and efficiency levels as correct measurements can be taken faster
- Sending less parts for reworking or correction
- Improving robustness to the quality control processes
- Optimising the flow in producing parts
- Reducing the number of CMMs required as well as Buffer Batches of parts that are waiting to be measured.
Bringing inline inspection to the shop floor is a versatile solution in transforming the 3D quality control processes, attaining zero default targets and improving robustness to deliver faster, correct and repeatable measurements.
